
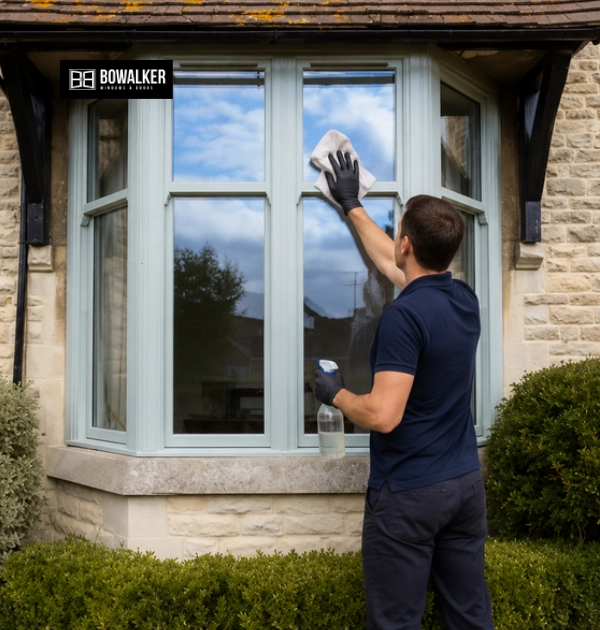
To clean sash windows, gather cleaning equipment, choose a suitable day, prepare the area, remove loose dust, clean the frames and tracks, clean the glass, dry all surfaces, and finish by inspecting, lubricating, and testing the windows. Use a vacuum cleaner with a soft brush attachment, microfibre cloths, a mild pH-neutral cleaning solution, and a squeegee to remove dirt without damaging the glass, frames, glazing bars, or moving components.
Clean from the frames to the glass, applying the solution to a cloth rather than directly onto the panes to protect glazing seals and timber joints from excess moisture. Dry every surface immediately to prevent streaks, water spots, timber swelling, and paint deterioration.
Once the sash windows are clean, inspect the sash cords, weather seals, glazing, locks, and frames for signs of wear, apply a silicone-based lubricant to the tracks and moving hardware, and test both sashes to ensure they slide smoothly, remain balanced, and lock securely.
- Step 1: Gather Your Cleaning Equipment
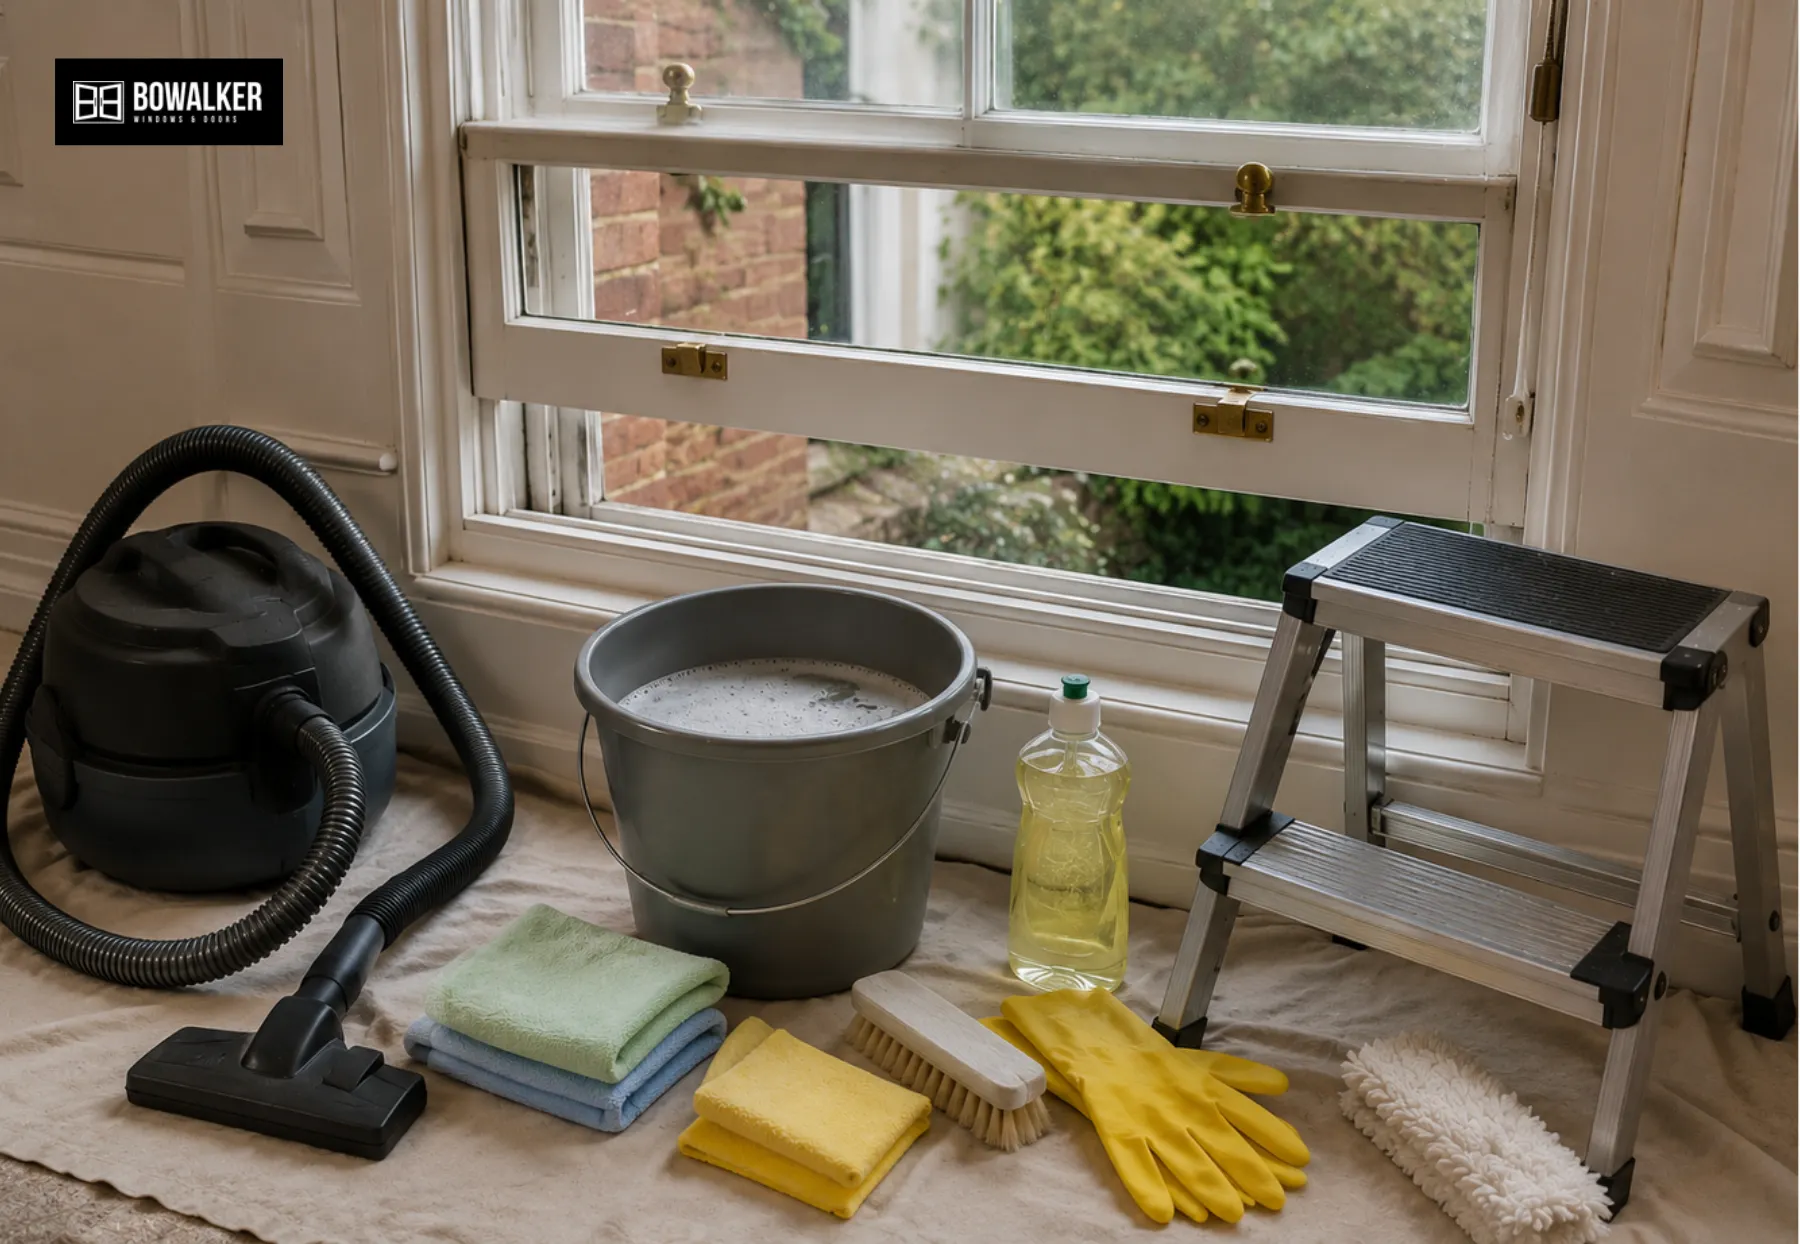
Before starting, gather all required equipment, such as a vacuum cleaner, soft brush, scrim, or lint-free cloth, to create an efficient, safe, and organised workflow. Because sash windows feature intricate mechanisms and delicate painted, stained, or timber surfaces, prepare specialised tools such as high-GSM microfibre cloths and pH-neutral dish soap that prevent surface abrasion.
Fill a bucket with warm water mixed with a mild, pH-neutral dish soap or specialised liquid window cleaner, avoiding harsh detergents that break down timber seals and paint finishes. Finally, wear rubber gloves to protect your skin from moisture, and set up a sturdy, level step stool to access high sash sections without straining or overreaching.
- Step 2: Choose a Suitable Day
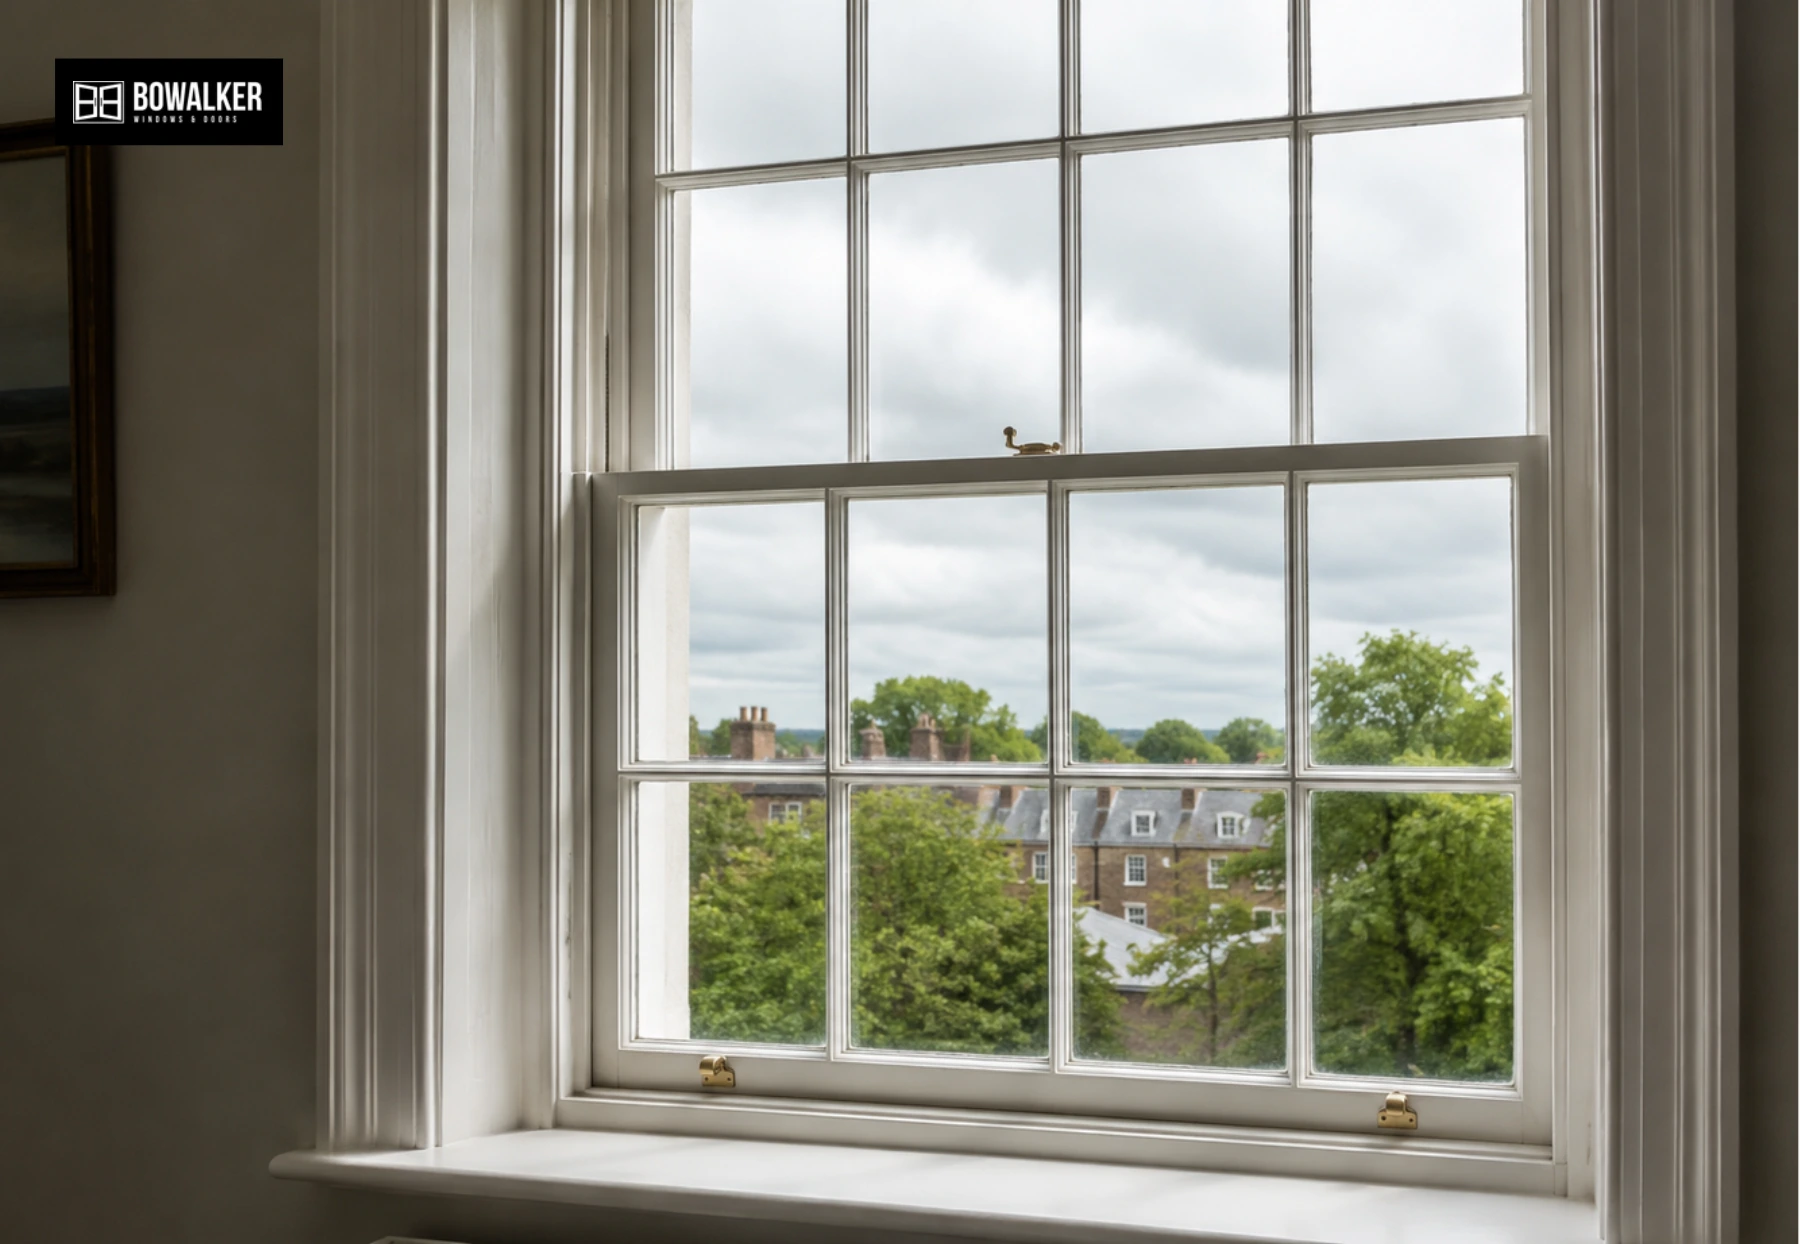
Schedule your sash window cleaning on a dry, calm, overcast day to maximise safety and achieve a streak-free finish. Avoid sash window cleaning in direct sunlight, as ambient heat warms the glass panes and causes your liquid-mixed cleaning solution to evaporate prematurely, leaving behind soapy films and water spots.
Likewise, do not attempt to clean your sash window during rain, heavy winds, or freezing temperatures. Cold or wet weather makes handling heavy sashes hazardous, especially on upper-story windows, and wind will push fresh environmental dirt onto wet, freshly wiped glass.
- Step 3: Prepare the Area
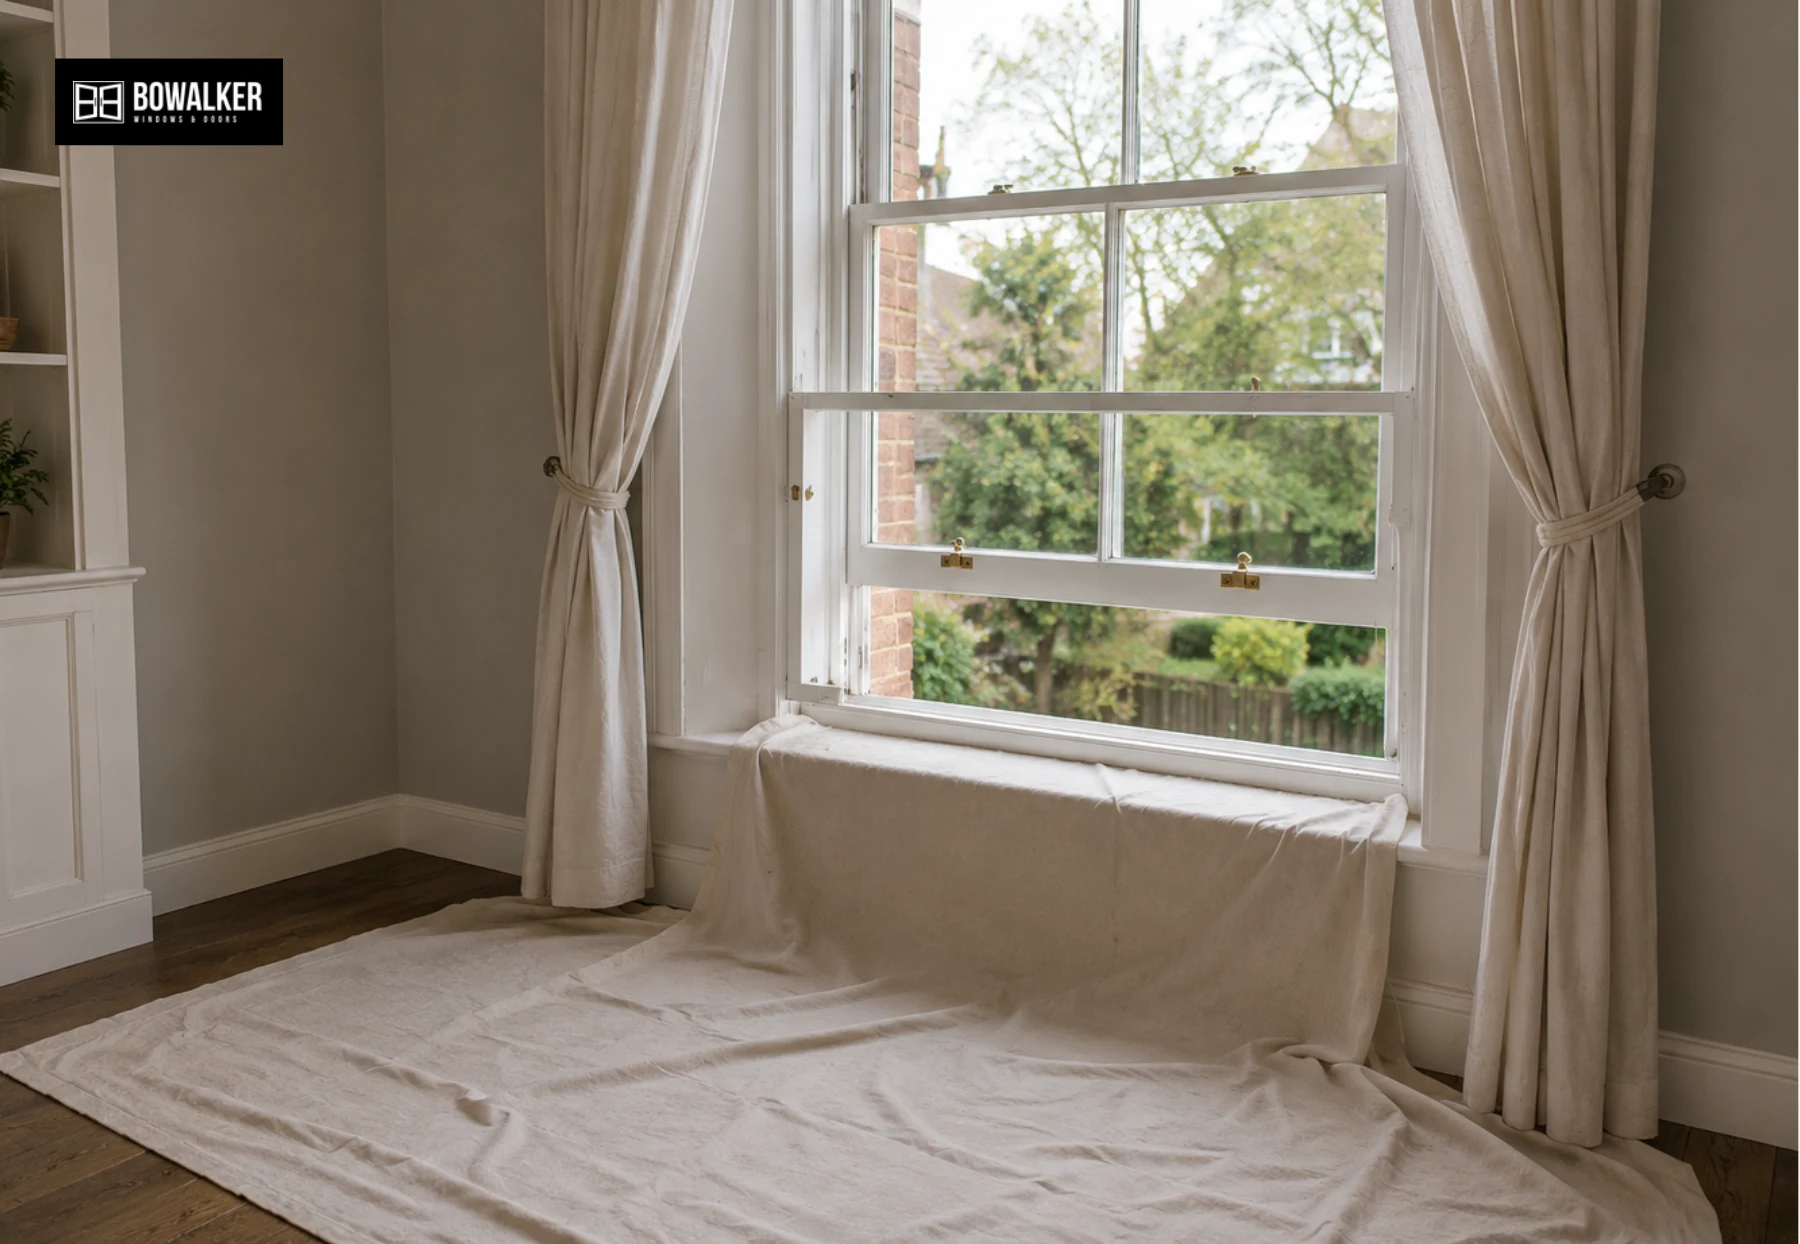
Next, prepare the surrounding indoor workspace to protect interior furnishings and ensure unhindered access to the window. Clear the area by moving furniture, potted plants, and floor items at least three feet away from the window frame. Remove or tie back all curtains, drapes, and blinds so they do not absorb moisture or collect dust during the process.
Also lay heavy-duty drop cloths or absorbent dust sheets over the flooring and sill directly beneath the window to catch water drips and dislodged dirt. Once the area is protected, unlock and slide both the upper and lower sashes to verify that the tracks and glass edges are completely accessible.
- Step 4: Remove Loose Dust and Debris
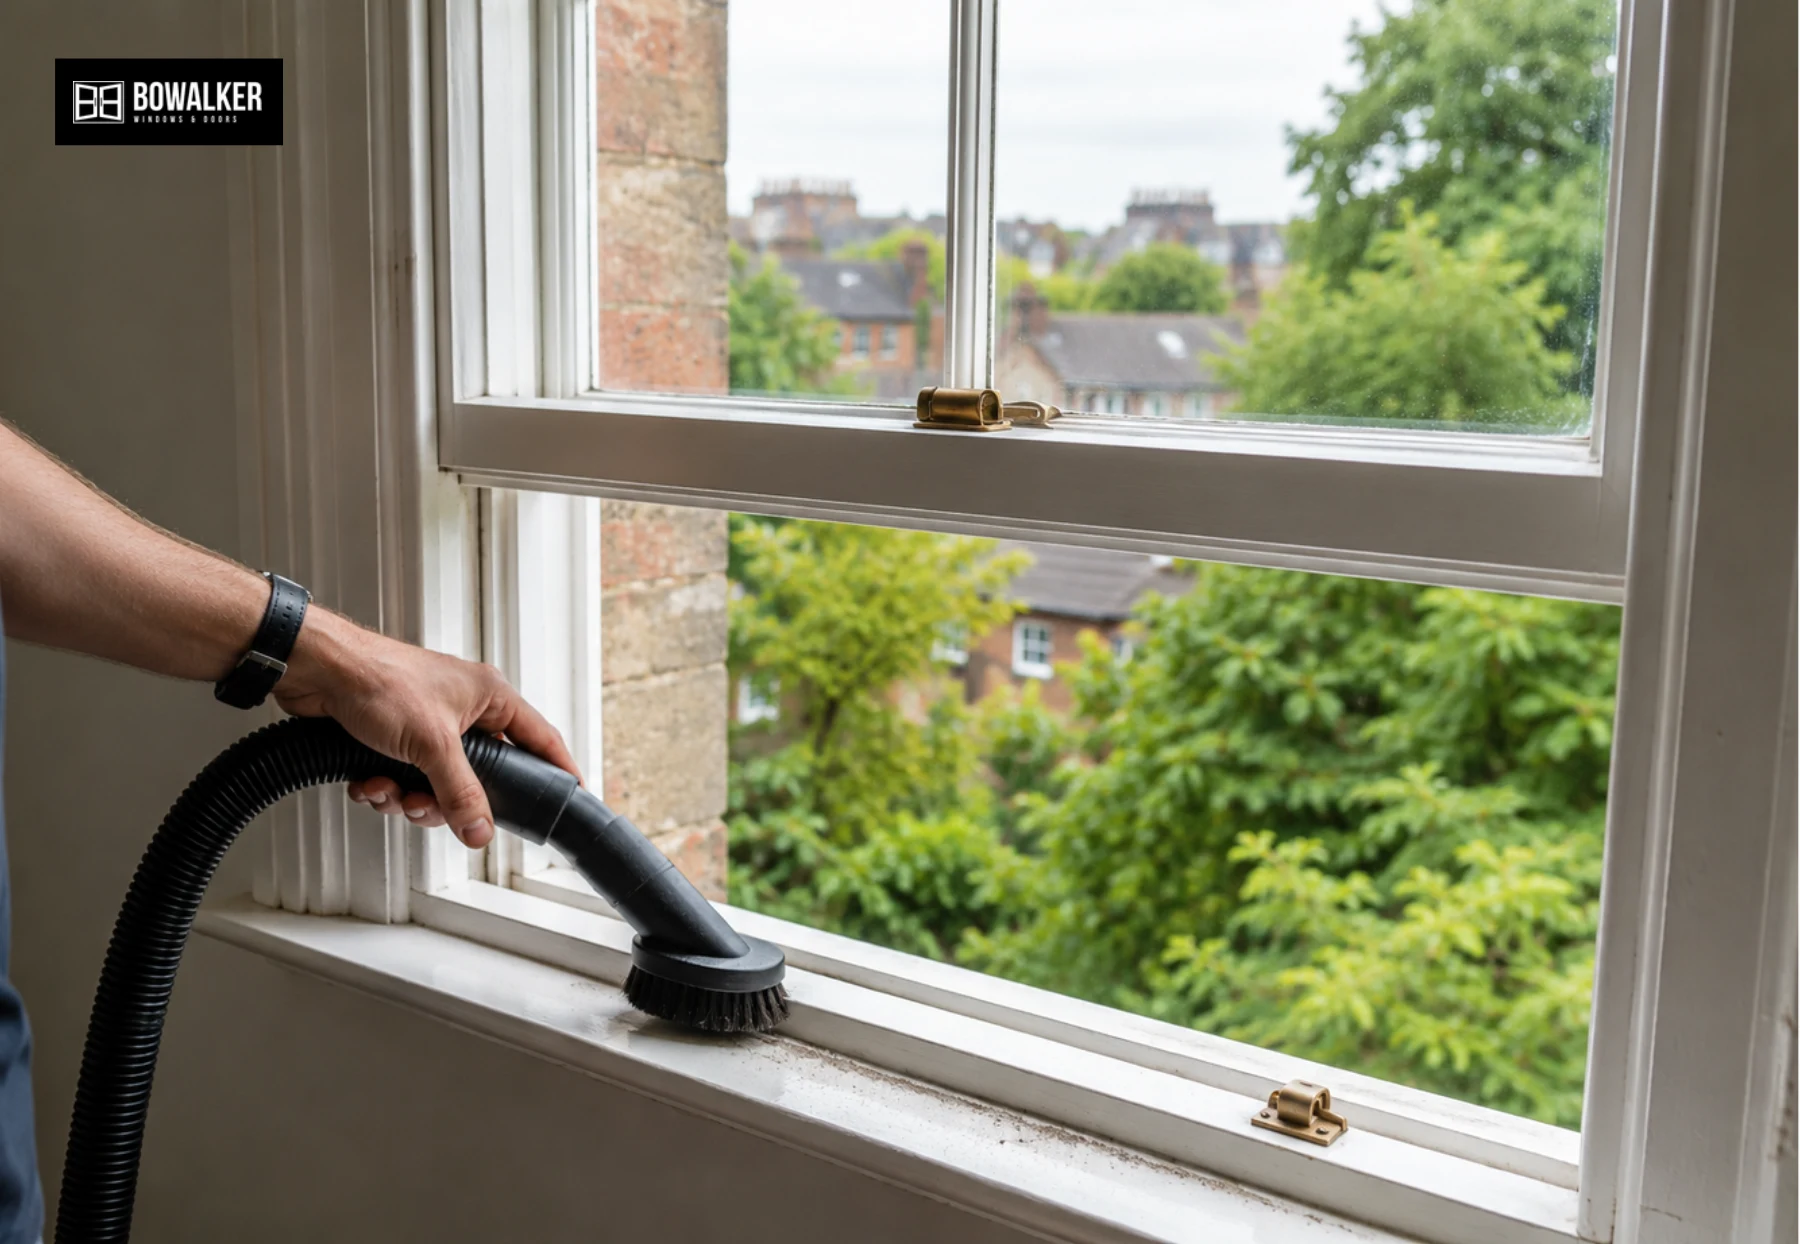
Remove all loose, dry surface dirt before applying liquid cleaning solutions to avoid dragging abrasive particles across the glass or frames. Skipping this step mixes dry dust, soot, and sand into a gritty slurry that scratches glass panes and discolours timber finishes. Using a soft brush attachment on your vacuum cleaner, systematically sweep the window sills, frame corners, meeting rails, and exterior edges.
For elevated exterior sections or upper-story sash windows, use a long-handled brush or telescopic vacuum pole rather than leaning out of the open window frame. Clear this top layer of dry grit completely to ensure the wet cleaning stage is clean and scratch-free.
- Step 5: Clean the Frames and Tracks
Deep-clean the inner tracks, pulley housings, and frame channels of sash windows to restore smooth sash movement and prevent premature mechanism wear. Slide the lower sash up and the upper sash down to fully expose the hidden interior runs and side channels where dirt accumulates. Dislodge compacted grit and debris from the tracks and bottom sills using a narrow track-cleaning brush or vacuum detail nozzle.
Next, dip a microfibre cloth into your warm, soapy water solution, wring it out until it is slightly damp, and wipe down the frames, meeting rails, and side channels. Maintain strict moisture control during this step by wringing out cloths thoroughly to prevent water from pooling inside timber joints, which can cause wood swelling, paint blistering, or rot.
- Step 6: Clean the Glass
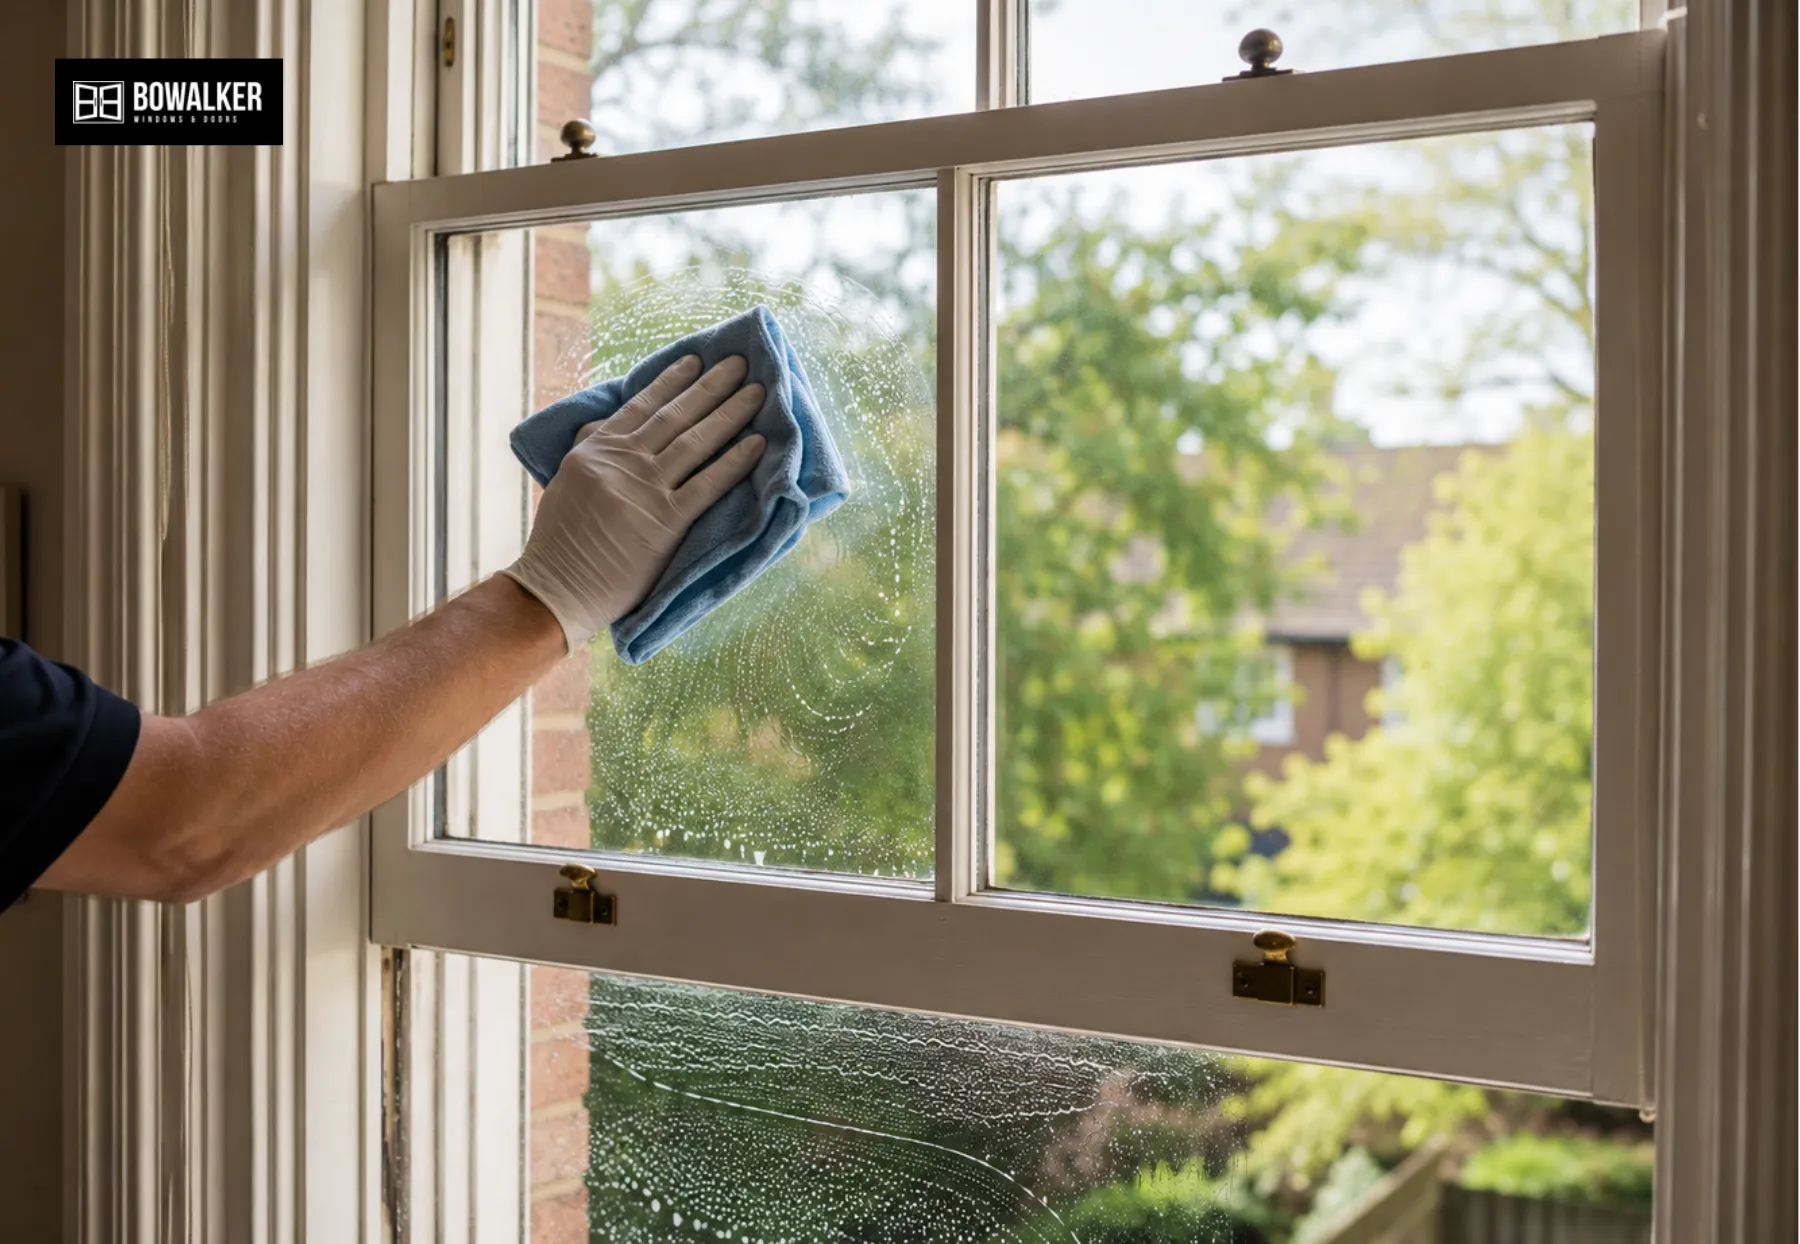
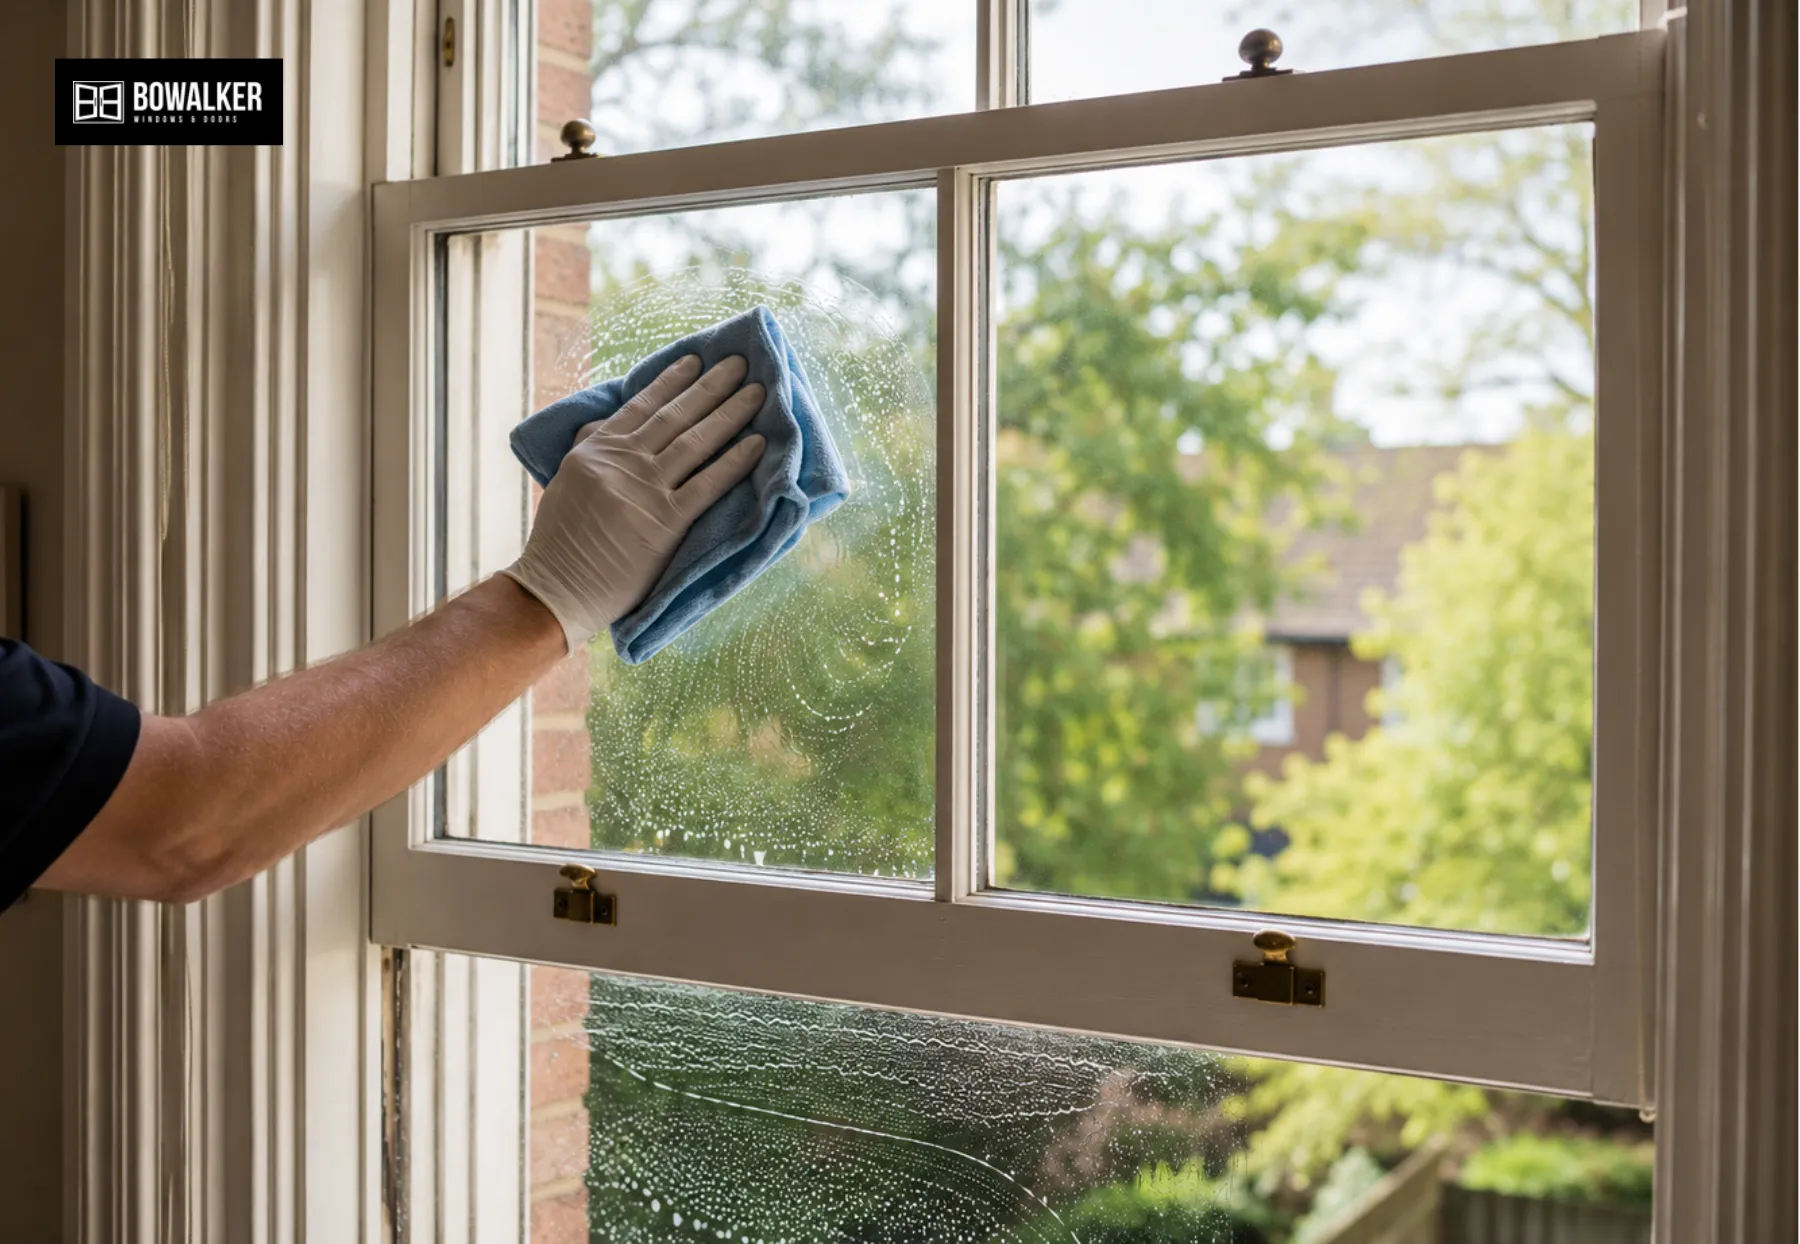
Clean the sash window glass panes using a controlled application method to eliminate grime without damaging adjacent frame seals. Apply a fine mist of your mild liquid mixed cleaning solution onto a clean microfibre cloth or soft sponge, do not spray solution directly onto the pane, as liquid will run into the glazing beads and lower frame joints.
Wipe the glass systematically from top to bottom using overlapping, S-shaped strokes to lift surface dirt, grease, and fingerprints. Give extra attention to the corners near the glazing bars where dust gathers. Finish by wiping away all remaining liquid with a professional rubber squeegee or a clean, dry microfibre cloth in single, continuous passes to leave a streak-free finish.
- Step 7: Dry All Surfaces
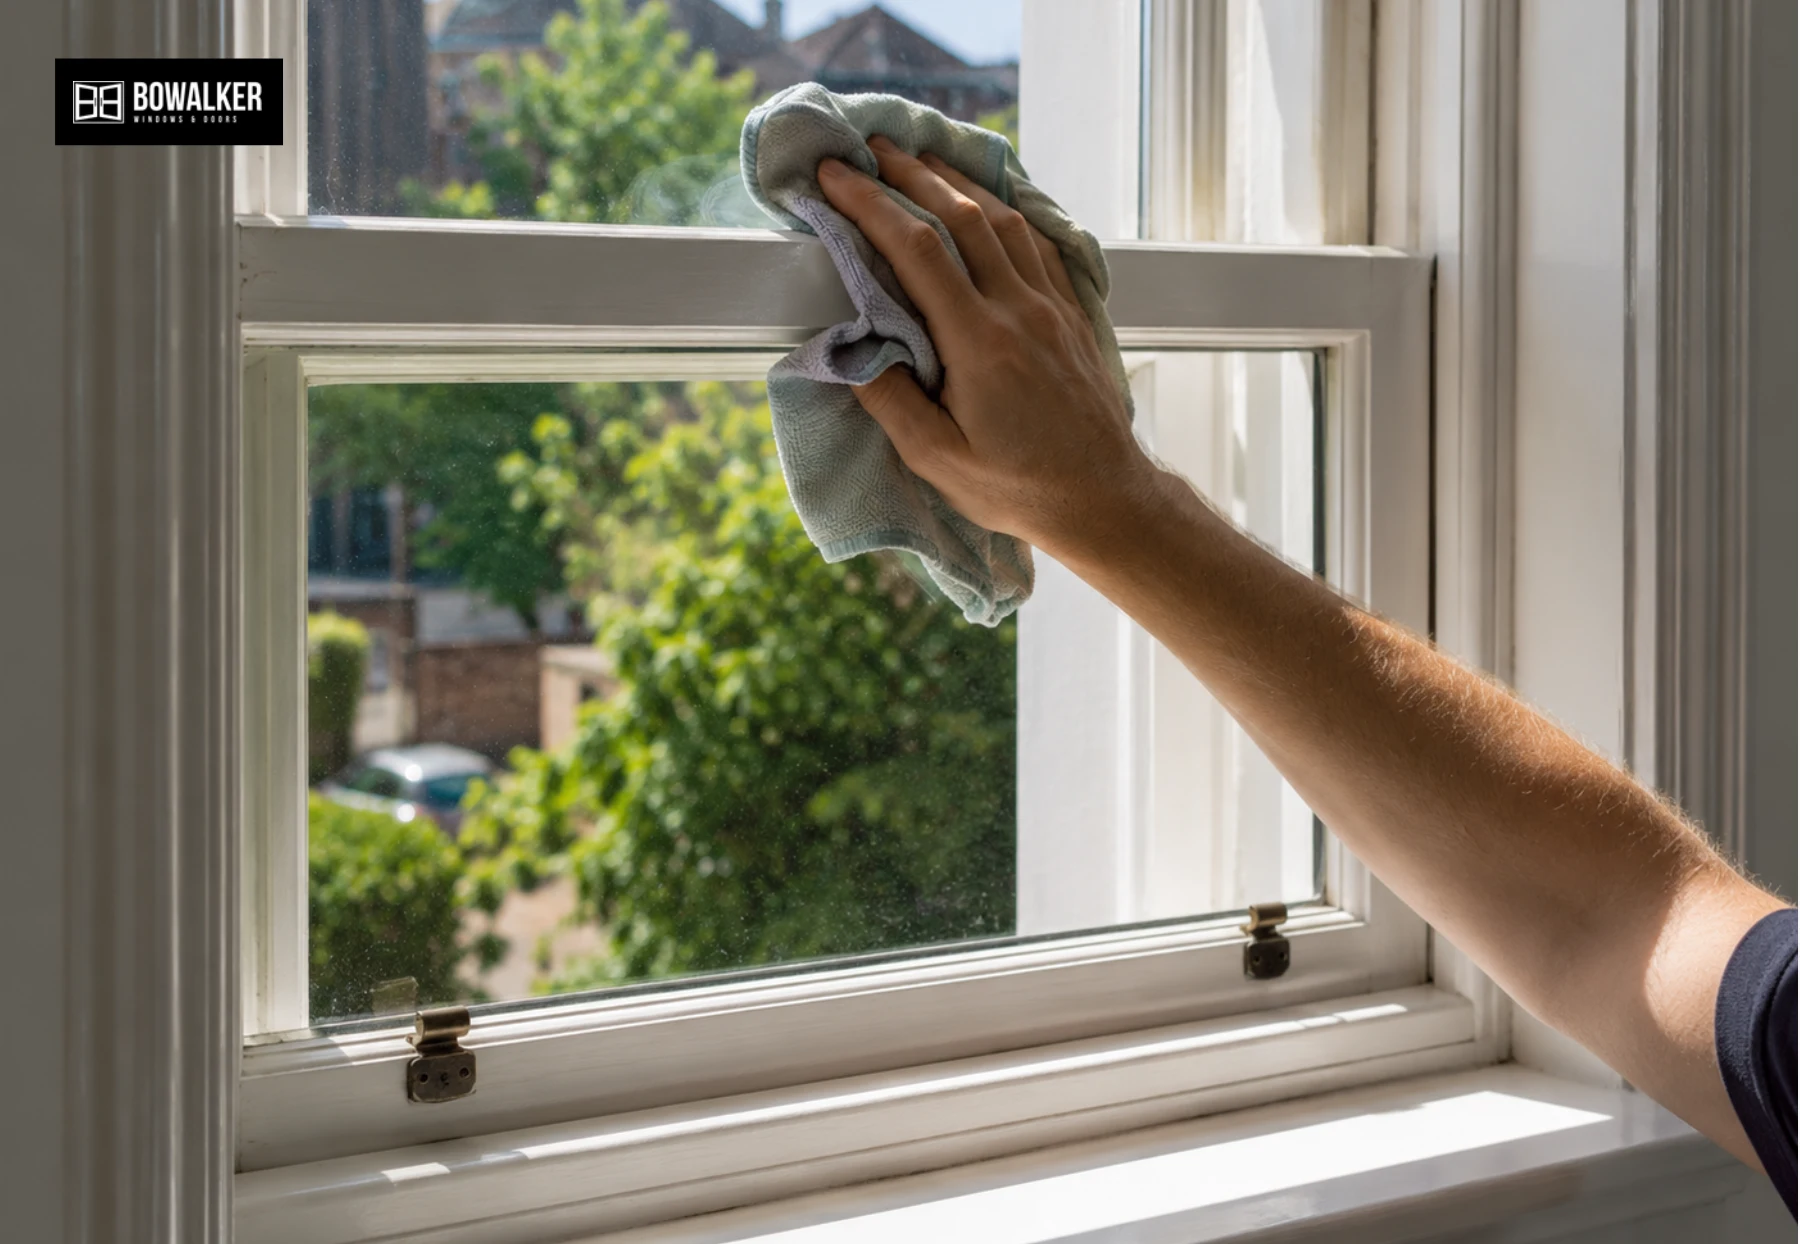
Dry every part of the sash window immediately after cleaning to prevent water-spotting and long-term moisture damage. Water left on glass dries into visible mineral deposits, while standing moisture on wooden frames degrades paint seals, swells the timber, and causes sash jamming.
Take a dry, lint-free microfibre cloth or chamois leather and thoroughly wipe the glass edges, meeting rails, side channels, and lower window sills. Pay close attention to the bottom corners and frame joints where runoff water collects, ensuring every surface is completely dry before closing or sliding the sashes.
- Step 8: Inspect, Lubricate, and Test
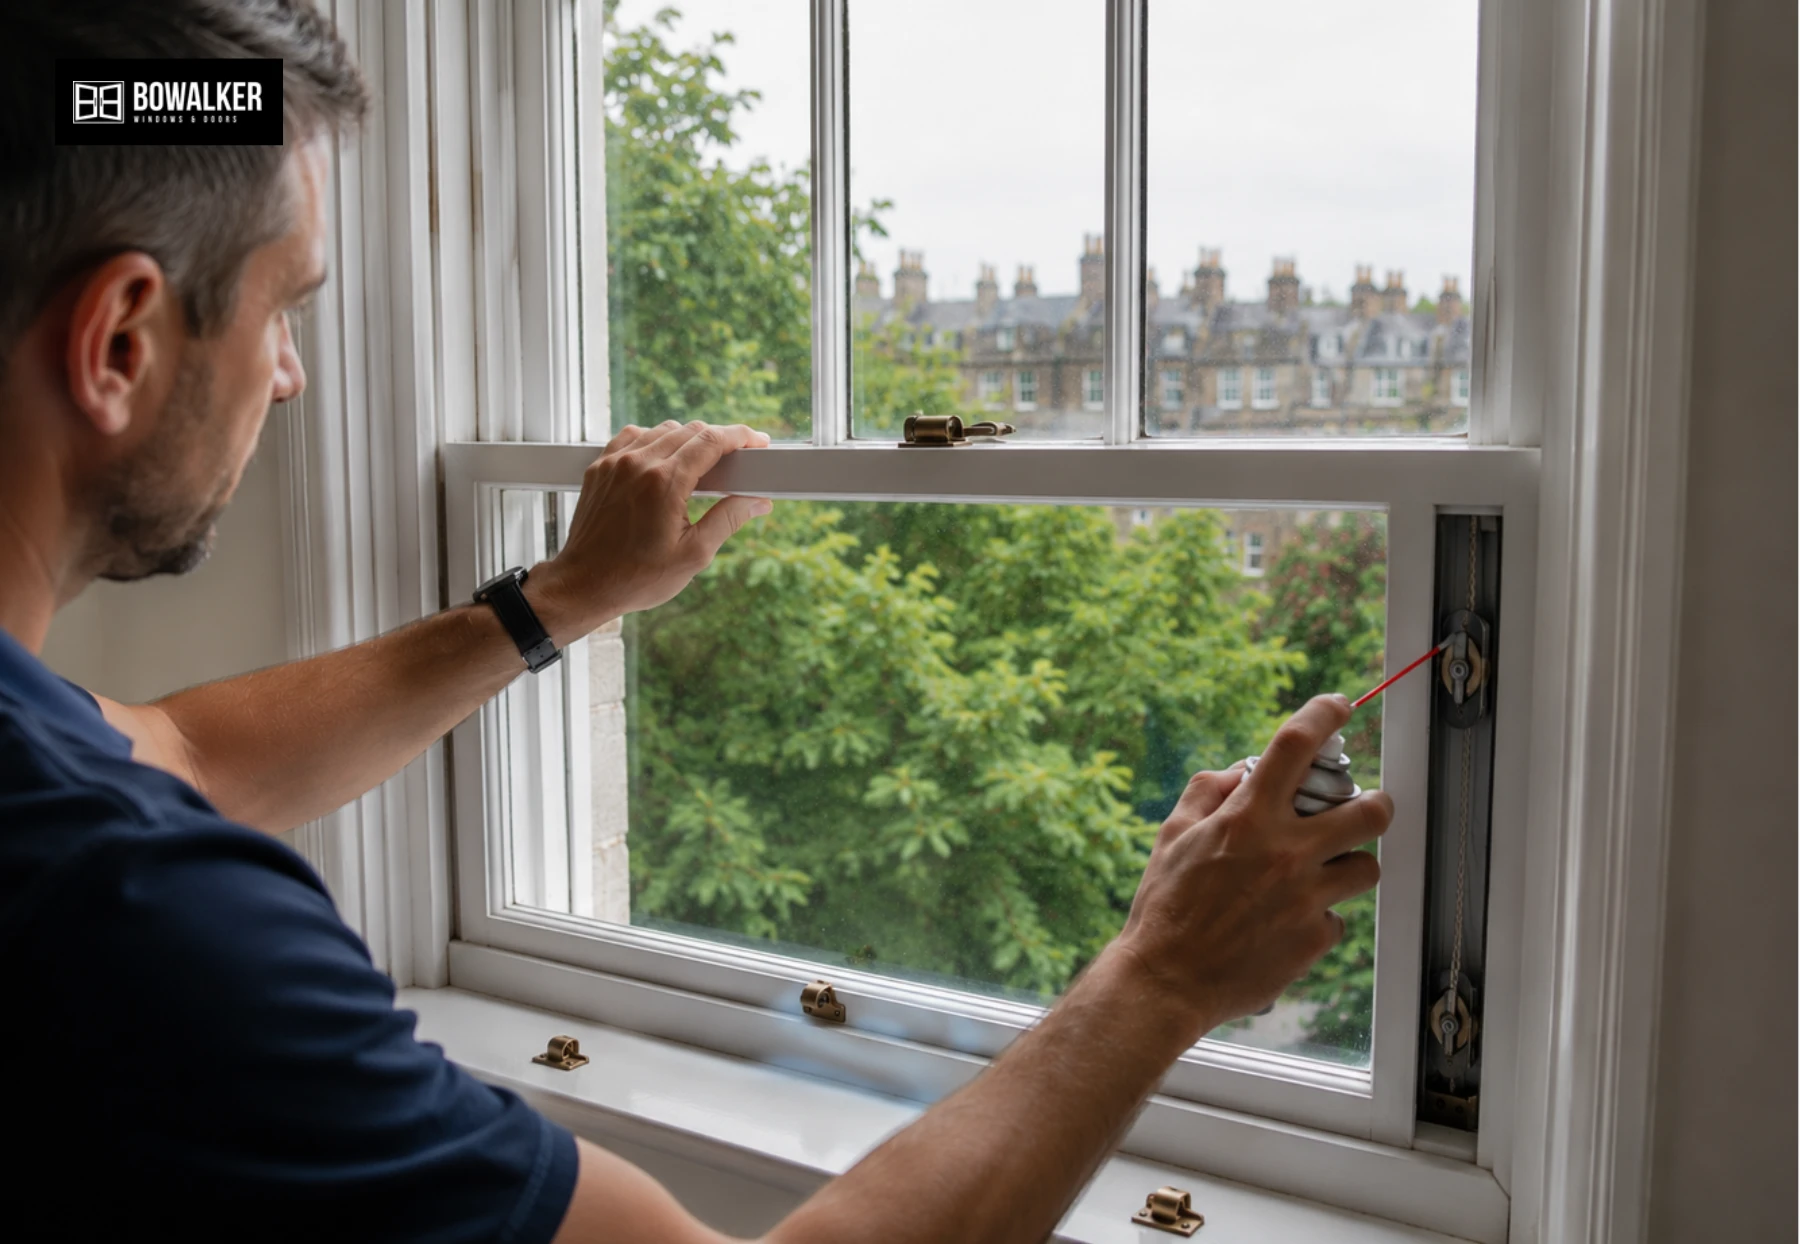
Conclude the sash window cleaning routine with a thorough inspection and routine maintenance check to keep your sash windows operating smoothly. Inspect the clean glass for cracks, evaluate the frame’s paint finish for signs of peeling or rot, and examine the sash cords, chains, and weather-stripping for wear. Once the components are verified dry and intact, apply a light coat of silicone-based spray lubricant directly to the side tracks, pulley wheels, and friction stays to reduce operational drag.
Never use oil-based lubricants or grease on timber frames, as these attract dirt and accelerate wood decay. Finally, raise and lower both sashes several times to distribute the lubricant and confirm that the window glides, holds its position, and locks securely.
What Tools and Equipment Do You Need to Clean Sash Windows?
Tools you need to clean sash windows include a vacuum cleaner with a soft brush attachment, microfibre cloths, lint-free cloths, a squeegee, and a soft sponge, while equipment includes warm water, mild dish soap, white vinegar, and rubber gloves. Having these tools and equipment ready ensures a smooth and efficient cleaning process while helping protect the glass, frames, paintwork, and moving components from unnecessary damage.
Tools:
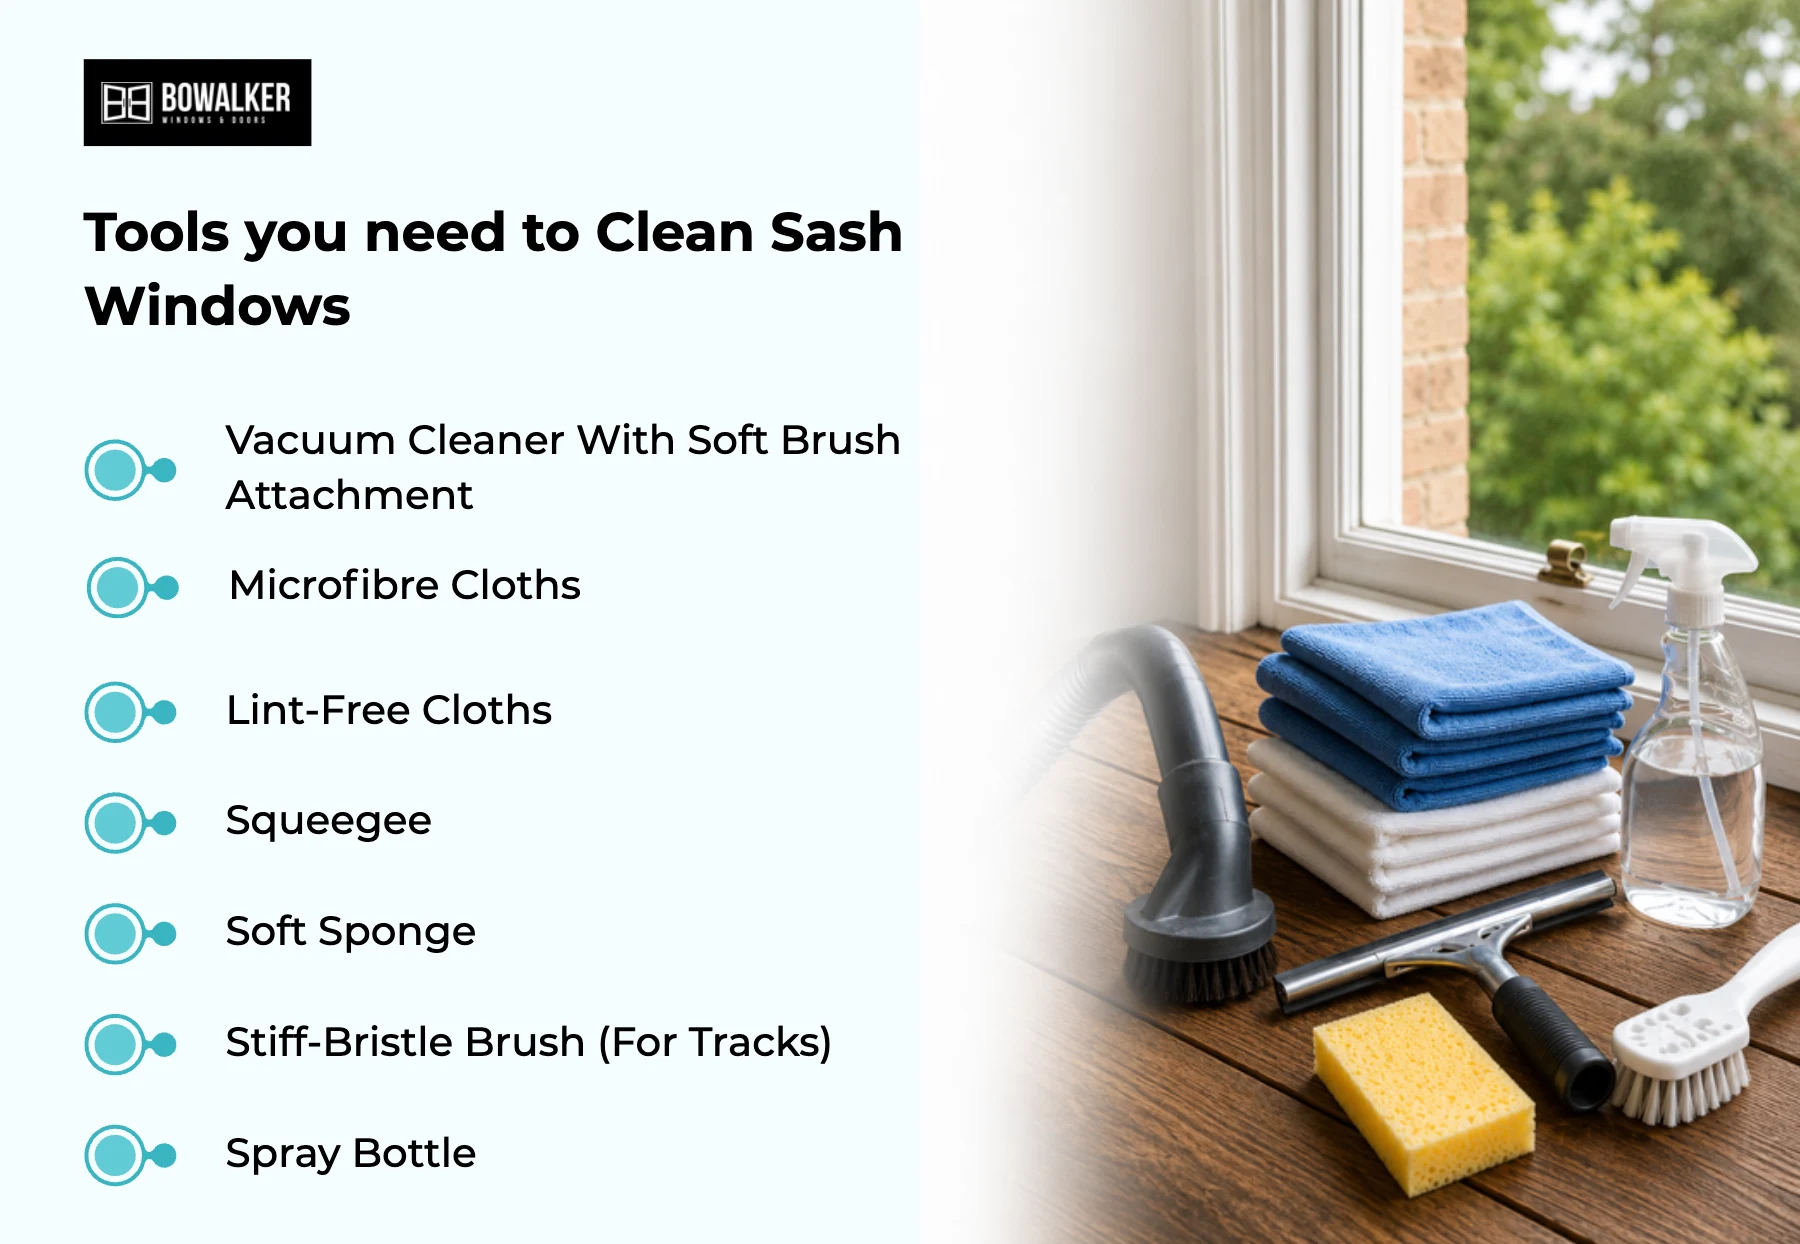
- Vacuum Cleaner With Soft Brush Attachment
- Microfibre Cloths
- Lint-Free Cloths
- Squeegee
- Soft Sponge
- Stiff-Bristle Brush (For Tracks)
- Spray Bottle
Equipment:
- Warm Water
- Mild Dish Soap
- White Vinegar or Glass Cleaner
- Silicone-Based Lubricant
- Dust Sheets or Drop Cloths
- Rubber Gloves
- Old Towels
How Do You Clean Sash Windows From Inside?
You can clean sash windows from inside by opening the sashes, vacuuming loose dust, wiping down the frames, cleaning the glass panes, cleaning around corners and glazing bars, removing all excess moisture, and testing the window movement. This approach allows you to work efficiently and safely while ensuring all interior surfaces are thoroughly cleaned without unnecessary repetition or missed areas.
Follow the 8 steps below to clean sash windows from inside:
- Open the sashes carefully, lowering the top sash and raising the bottom sash halfway to safely access the top exterior glass panel directly from indoors.
- Vacuum loose dust and debris using a soft brush attachment to clear tracks and spiderwebs, then scrub pulley channels and joints with an old toothbrush to dislodge stubborn grime.
- Wipe down the frames first using a damp microfibre cloth with warm water and a drop of mild dish soap to lift dirt without degrading wood or uPVC finishes.
- Clean the glass panes using a lint-free cloth or squeegee, applying consistent vertical or horizontal strokes to eliminate streaks.
- Clean the glass panes by spraying a commercial glass cleaner or a 1:1 mix of water and white vinegar, wiping top-to-bottom with a microfibre cloth, and buffing with a small squeegee.
- Clean around corners and glazing bars by shifting sashes in opposite directions to reach remaining exterior sections and clear grime from tight recesses.
- Remove all excess moisture immediately with a dry cloth, paying extra attention to timber joints so water does not sit, swell, or rot the wood.
- Test the window movement by sliding both sashes fully, and apply a light silicone spray lubricant to the side tracks if the sashes feel sticky or hard to slide.
How Do You Clean the Outside of Sash Windows?
To clean the outside of sash windows, you can use built-in tilt mechanisms where available, reposition the sliding sashes to access exterior-facing glass from inside the property, or use long-handled extension cleaning tools for upper-storey windows. These step-by-step methods allow you to clean the exterior glass, frames, and accessible tracks of sash windows thoroughly while reducing the need to work at height and keeping your feet safely on the ground.
Here is how you can clean the outside of sash windows:
- Utilise tilt mechanisms on modern sashes by releasing the upper and lower tilt latches to swing both panes inward for direct, safe access to the exterior glass.
- Shift traditional sliding sashes strategically by pulling both sashes down to clean the upper outer glass, then raising both up to reach the lower outer section from inside.
- Remove heavy exterior dirt first using a soft-bristle brush on a telescopic pole to clear away bird droppings, cobwebs, and caked-on outdoor grime.
- Apply soapy water with a sponge dipped in warm water mixed with mild dish soap or a 1:1 vinegar and water mix to break down environmental grease without scratching the glass or stripping frame paintwork.
- Clear water with a squeegee using overlapping vertical or S-shaped strokes, wiping the rubber blade with a rag between passes to avoid dragging dirt back onto the pane.
- Use extension poles for high windows equipped with U-shaped telescopic arms or magnetic cleaners if external sashes cannot tilt or slide fully.
- Dry frames and sills thoroughly using a lint-free cloth to prevent dirty runoff water from pooling in exterior track grooves or damaging timber joints.
How Do You Clean Between Sash Windows?
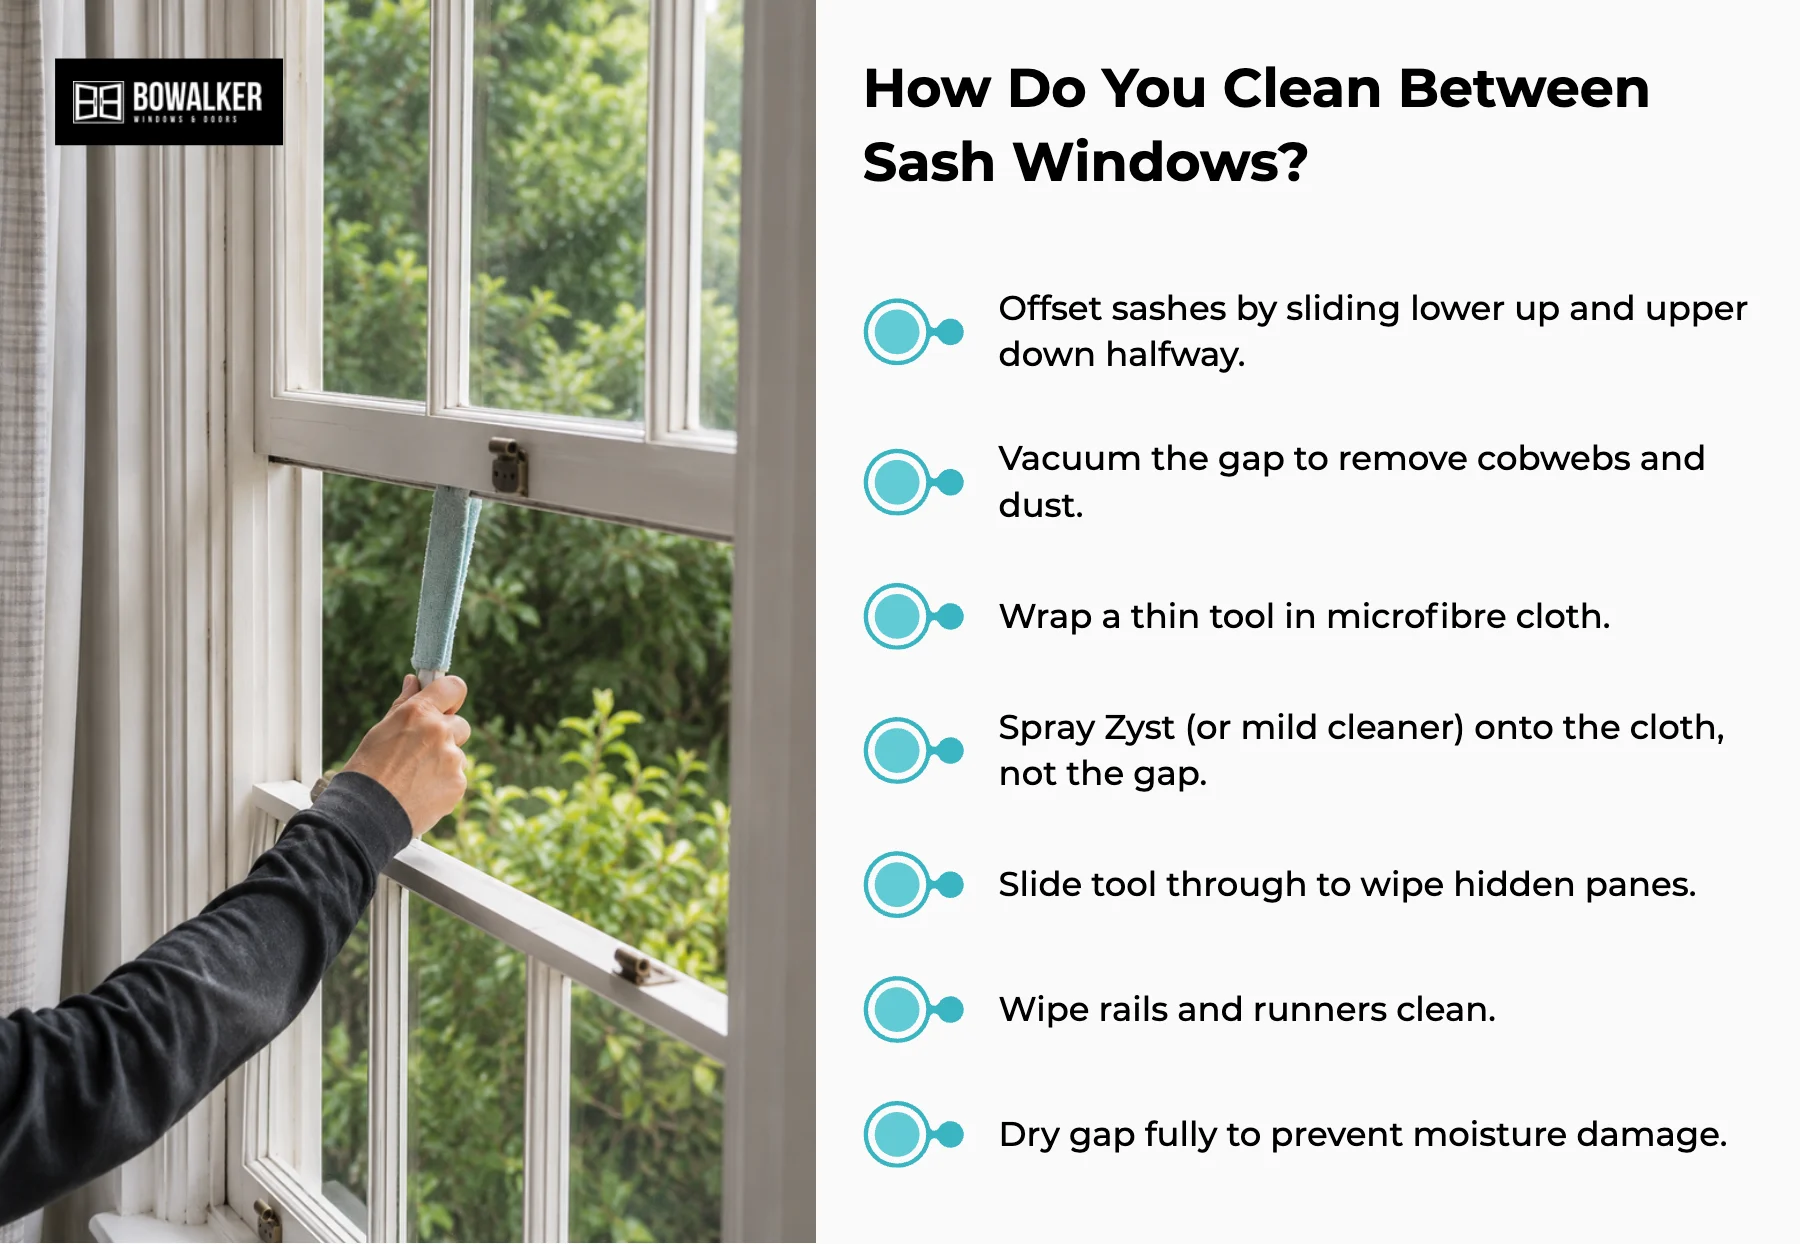
You can clean between sash windows by offsetting the upper and lower sashes to expose the overlapping glass and hidden meeting rails, allowing access to the narrow internal gap where dust, cobwebs, and debris accumulate. Cleaning this concealed area helps maintain smooth window operation, improves glass clarity, and prevents grime from being redistributed each time the window is opened or closed.
A step-by-step process you can follow to clean between sash windows is:
- Position the sashes offset by sliding the lower sash up halfway and the upper sash down halfway to expose the overlapping centre glass and meeting rails.
- Vacuum the centre gap using a narrow crevice tool or flexible nozzle attachment to remove cobwebs, dead bugs, and loose dust before wiping.
- Wrap a thin tool with a microfibre cloth (such as a ruler, putty knife, or specialised blind-cleaning wand) to reach into tight gaps between parallel glass panes and frame channels.
- Apply a mild cleaning spray to the cloth rather than spraying directly into the narrow gap, preventing liquid from pooling at the base of internal timber frame joins.
- Slide the wrapped tool vertically through the overlapping sections to sweep away trapped grime and dust buildup from the hidden pane surfaces.
- Clean the exposed meeting rails and side runners with a damp, soapy cloth to remove sticky residues that hinder smooth sliding action.
- Dry the interior gap thoroughly using a fresh, dry microfibre cloth wrapped around your tool to prevent trapped moisture, mould growth, or timber swelling.
How Do You Clean the Different Types of Sash Windows?
You clean different types of sash windows by adapting the method to their style, frame material, and glazing. Georgian windows require careful cleaning around small panes and glazing bars, while Victorian windows suit broad strokes and a full-sized squeegee. Wooden and timber frames need minimal moisture, uPVC requires non-abrasive cleaners, and aluminium needs mild, non-alkaline detergent. Double and triple glazing require protected edge seals, while obscure, leaded, and stained glass need gentle tools, controlled moisture, and immediate drying.
By Style
How to Clean Georgian Sash Windows?
To clean Georgian sash windows, prepare a mild liquid mixed solution, wash individual small panes, detail around narrow glazing bars, and dry each pane immediately. Following this approach ensures that dirt is removed effectively while preserving the delicate glazing bars, timber frames, and original finishes.
Here is how you can clean Georgian sash windows:
- Prepare a mild liquid mixed solution: Dilute a small amount of pH-neutral dish soap or a 1:1 mixture of warm water and white vinegar in a bucket. Avoid harsh chemical sprays that could deteriorate vintage paint or glazing putty.
- Wash individual small panes: Dip a soft sponge or microfibre detail pad into the solution and wring it out completely so it is merely damp. Carefully wipe each small Georgian sash window glass pane individually from top to bottom.
- Detail around narrow glazing bars: Use a wrapped microfibre detail tool or a soft-bristled brush to gently remove trapped dust and grime from the corners where the glazing bars intersect the glass. Avoid applying heavy pressure on delicate or historic wooden muntins.
- Dry each pane immediately: Buff each small pane using a small, dry lint-free cloth or a cut-down squeegee blade to prevent liquid from pooling along the glazing putty lines or frame edges.
How to Clean Victorian Sash Windows?
To clean Victorian sash windows, apply the cleaning solution evenly, lift surface grease and grime, clean the decorative sash horns and meeting rails, then squeegee and buff the glass for a streak-free finish. This method is well suited to the larger glass panes found in Victorian sash windows, allowing you to clean broad surfaces efficiently while preserving decorative timber details.
Follow the steps below to clean Victorian sash windows:
- Apply cleaning solution evenly: Spray a mild liquid mixed glass cleaner or water-and-vinegar solution onto a soft sponge or microfibre cloth. Apply it across the expansive glass pane in broad, continuous motions.
- Lift surface grease and grime: Clean from top to bottom using overlapping S-shaped strokes, focusing on the lower corners where atmospheric soot accumulates.
- Clean decorative sash horns and rails: Carefully wipe down the prominent sash horns, meeting rails, and surrounding timber frames using a damp microfibre cloth, ensuring no excess moisture runs into decorative mouldings.
- Squeegee and buff for clarity: Pull a full-sized rubber squeegee straight down the glass pane in single, continuous passes, wiping the squeegee blade dry between strokes. Finish by buffing the edges with a clean scrim or lint-free microfibre towel.
By Frame Material
How Do You Clean Wooden Sash Windows?
To clean wooden sash windows, prepare a gentle cleaning solution, control water exposure, wipe down the frames and rails, inspect the timber for wear, and dry every surface immediately. Following this method step-by-step removes dirt while protecting painted timber, preserving the wood finish, and reducing the risk of swelling, paint deterioration, and rot.
Below are the steps you can follow to clean wooden sash windows:
- Prepare a gentle solution: Mix warm water with a few drops of mild, pH-neutral dish soap. Avoid harsh chemicals, bleach, or solvent-based cleaners that strip paint and compromise timber finishes.
- Control water exposure: Dip a soft microfibre cloth into the solution and wring it out thoroughly until it is merely damp. Excess water pooling in timber joints or lower sills can lead to wood swelling, paint blistering, and rot.
- Wipe down frames and rails: Wipe along the grain of the wood to remove dirt, soot, and finger marks from the frames, sills, and meeting rails.
- Inspect for wear: Check the paintwork or varnish while cleaning, looking for flaking paint or hairline cracks that expose raw wood to moisture.
- Dry immediately: Take a dry, lint-free cloth and thoroughly dry all wooden surfaces, frame channels, and joints to prevent lingering dampness.
How Do You Clean UPVC Sash Windows?
You can clean uPVC sash windows by applying a non-abrasive cleaner, washing the frames and sills, clearing the drainage channels, and drying the surfaces thoroughly. Using gentle cleaning products preserves the smooth finish while preventing scratches, staining, and dirt buildup around the moving sash components.
Here are the steps you can follow to clean UPVC sash windows:
- Apply non-abrasive cleaner: Mix warm water with a mild liquid dish soap, or use a specialised uPVC cream cleaner for stubborn stains. Never use scouring pads, wire wool, or abrasive creams that can dull or scratch the surface.
- Wash the frames and sills: Wipe down the uPVC profiles, side tracks, and sills with a soft sponge or microfibre cloth to remove atmospheric dirt and grime.
- Clean the drainage channels: Open the sashes and clear out any leaves or grit trapped in the lower uPVC drainage slots using a soft brush.
- Wipe down and dry: Wipe away all soapy residue with a clean, damp cloth, then dry the uPVC frame using a microfibre towel.
How Do You Clean Timber Sash Windows?
To clean timber sash windows, use a gentle pH-neutral cleaning solution, minimise moisture exposure, clean the joints carefully, inspect the timber for early signs of decay, and dry the frame thoroughly. This approach protects painted or stained timber while helping maintain the structural integrity of the sash window.
Follow the steps below to clean timber sash windows:
- Use a gentle, pH-neutral mixture: Dilute mild liquid soap in warm water to create a gentle cleaning solution that lifts dirt without degrading wood treatments or seals.
- Wring cloths thoroughly: Ensure microfibre cloths are well wrung out before wiping down timber frames, side runners, and sills. Strictly avoid soaking or spraying liquid directly onto timber surfaces.
- Clean corners and joints: Carefully wipe down joints and corners using a soft-bristled brush or damp cloth to remove trapped grit without harming protective paint or oil coats.
- Check for rot or decay: Inspect the timber around bottom sills and lower joints for soft spots or peeling sealant while wiping.
- Dry thoroughly: Buff all timber surfaces completely dry with a lint-free cloth to eliminate standing moisture and preserve the finish.
How Do You Clean Aluminium Sash Windows?
To clean aluminium sash windows, use a mild cleaning solution, soft cleaning materials, clear the drainage system, and dry the frames thoroughly. Aluminium is naturally resistant to moisture, but using suitable cleaning products helps protect anodised and powder-coated finishes from scratches, staining, and corrosion.
A step-by-step process you can follow to clean aluminium sash windows is:
- Mix a mild cleaning liquid: Blend warm water with a mild, non-alkaline detergent. Avoid acidic or strongly alkaline cleaners, which can corrode or stain anodised and powder-coated aluminium finishes.
- Clean with soft materials: Use a soft sponge or microfibre cloth to wipe away dust, salt deposits, and environmental grime from the metal profiles and track grooves. Avoid abrasive pads or stiff brushes that scratch metal coatings.
- Clear track drainage: Ensure tracks and drainage holes in the aluminium frame are free from grit and debris to allow proper water runoff.
- Dry and buff: Rinse off soap residue using a damp cloth, then dry the aluminium frames thoroughly with a soft microfibre towel to prevent water spots and keep metal finishes pristine.
By Glass
How Do You Clean Double Glazed Sash Windows?
To clean double-glazed sash windows, apply a mild cleaning solution, clean both glass panes systematically, protect the insulated edge seals, and dry the glass thoroughly. This method removes dirt and fingerprints while helping preserve the sealed glazing unit, preventing seal failure, internal condensation, and reduced thermal performance.
Here is how you can clean double-glazed sash windows:
- Apply a mild cleaning solution: Spray a mild liquid mixed solution or glass cleaner onto a soft microfibre cloth rather than directly onto the glass.
- Clean both panes systematically: Wipe the glass in continuous horizontal or vertical S-shaped strokes to remove fingerprints and smudges without applying heavy pressure.
- Protect edge seals: Avoid forcing liquid or sharp tools into the perimeter edge seals around the glass unit, as damaging the sealant can cause gas loss and internal condensation.
- Dry and buff: Use a squeegee or clean lint-free cloth to dry the glass surfaces completely and eliminate streaks.
How Do You Clean Triple Glazed Sash Windows?
You can clean triple glazed sash windows by preparing non-abrasive cleaning materials, wiping the accessible glass surfaces carefully, protecting the perimeter seals, and buffing the glazing to a clear finish. Gentle cleaning preserves the additional glazing layers while maintaining the triple glazed sash window’s thermal insulation and overall appearance.
Follow the steps below to clean triple glazed sash windows:
- Prepare non-abrasive materials: Mix warm water with a few drops of pH-neutral dish soap and use a soft sponge or high-GSM microfibre cloth.
- Wipe accessible glass surfaces: Clean the exposed indoor and outdoor glass surfaces using light, methodical strokes, taking extra care around the weighted sash frame.
- Avoid high pressure on seals: Keep cleaning liquid away from perimeter sealants and avoid pressing heavily against the glass panes to prevent structural stress on seals.
- Buff to complete clarity: Dry all three accessible glass faces thoroughly with a lint-free scrim towel to achieve maximum thermal transparency without residue.
How Do You Clean Obscure Glass Sash Windows?
To clean obscure glass sash windows, use a gentle non-abrasive cleaning solution, clean the textured surface carefully, remove any remaining residue, and dry the glass thoroughly. This approach preserves the decorative pattern while preventing scratches and water spots from forming within the sash window’s textured finish.
You can clean an obscure glass sash window by following the steps below:
- Use a gentle, non-abrasive liquid: Dilute mild liquid soap or a 1:1 mixture of water and white vinegar in a spray bottle. Avoid abrasive pastes or scouring pads that can scratch the pattern.
- Clean with circular motions: Apply the solution to a soft sponge or soft-bristled brush and gently work in circular motions to lift dirt trapped within the textured pattern.
- Rinse with a damp cloth: Wipe down the patterned glass with a clean, damp microfibre cloth to remove dislodged grime and soap residue.
- Dry thoroughly: Buff the textured glass with a dry, lint-free cloth to prevent water spots from forming inside the pattern recesses.
How Do You Clean Leaded Glass Sash Windows?
You can clean leaded glass sash windows by preparing a gentle cleaning solution, wiping carefully along the lead cames, minimising moisture exposure, and drying the glass immediately. Gentle cleaning helps preserve both the decorative glass panels and the lead framework while preventing corrosion and deterioration.
Below are steps you can follow to clean leaded glass sash windows:
- Prepare a mild, gentle solution: Use warm water mixed with a tiny amount of mild dish soap. Never use ammonia, vinegar, or abrasive solvents that can react with or corrode lead cames.
- Wipe gently along lead lines: Dip a soft microfibre cloth into the solution, wring it out until slightly damp, and gently wipe each glass section along the direction of the lead cames.
- Avoid excessive moisture: Prevent water from pooling around or seeping under the lead cames, as trapped dampness can degrade original waterproofing cement or cause internal corrosion.
- Dry immediately: Gently pat the glass and lead cames dry using a soft, dry towel or chamois leather.
How Do You Clean Stained Glass Sash Windows?
To clean stained glass sash windows, use a mild non-chemical cleaning solution, wipe the glass carefully, clean the surrounding frame gently, and dry every surface immediately. Following this step protects decorative glass, painted details, and supporting metalwork while maintaining the stained glass sash window’s original appearance.
Follow the steps below to clean stained glass sash windows:
- Use a mild, non-chemical cleaner: Mix warm distilled water with a few drops of mild, pH-neutral dish soap. Strictly avoid ammonia, alcohol, vinegar, or abrasive chemical cleaners, which can strip surface paints, glazes, or patinas.
- Apply carefully with a soft cloth: Dampen a clean microfibre cloth with the solution and gently wipe the glass surfaces, taking care around delicate hand-painted details.
- Clean both glass and frame: Carefully detail around the wooden or timber sash frame using a damp, wrung-out cloth without letting liquid pool against the stained glass edges.
- Dry thoroughly: Immediately buff the stained glass and surrounding frame dry with a plush, dry towel to preserve the glass clarity and metalwork.
How Should You Maintain Sash Windows After Cleaning?
Maintain sash windows after cleaning by lubricating moving components, inspecting the frames and glazing, checking seals and hardware, keeping drainage paths clear, and carrying out routine preventative maintenance. Regular sash window maintenance helps preserve smooth sash operation, protect the window against moisture damage, improve energy efficiency, and extend the lifespan of the glass, frames, and operating mechanisms.
10 maintenance tips you should follow to maintain sash windows after cleaning are:
- Lubricate channels and moving hardware: Apply a silicone-based spray, beeswax, or candle wax along sliding tracks, pulleys, locks, and hinges. Avoid oil-based lubricants, which attract dust and build up sticky residue in the channels.
- Inspect timber, metal, and uPVC frames: Check for soft timber, peeling paint, cracked sealant, or corrosion by pressing gently on bottom sills and joints to catch minor defects before they worsen.
- Examine weather seals and glazing putty: Check rubber seals, perimeter caulk, and glazing putty for cracking, detachment, or hardening. Replace damaged seals to block draughts, reduce condensation, and stop energy loss.
- Check locks and security fittings: Ensure sash locks, catches, restrictors, and fasteners engage smoothly and align properly. Tighten loose fixings and replace worn hardware to preserve window security.
- Touch up damaged paint and protective finishes: Sand down peeling paint, apply a quality wood primer, and renew topcoats, stains, or sealants to shield frames against UV exposure, rain, and weathering.
- Seal frame gaps and cracks: Fill minor frame joints, cracks, or perimeter gaps with exterior sealant or caulk to prevent water ingress and protect raw wood from rot.
- Keep tracks and drainage channels clear: Ensure bottom drainage channels, sweep slots, and weep holes remain completely free of dislodged debris, leaves, or cleaning grit so rainwater drains freely.
- Test sash operation and balance: Slide both sashes up and down several times to distribute lubricant evenly, checking for smooth, quiet glide without sticking or friction.
- Monitor for moisture and persistent condensation: Inspect glazing edges, frame joints, and sills after heavy rainfall or high humidity, addressing trapped dampness promptly to protect finishes.
- Perform regular light maintenance: Dust frames, glazing bars, sills, and tracks with a dry microfibre cloth between deep cleans to prevent grime from embedding and simplify future cleaning.
How Often Should You Clean Sash Windows?
You should clean sash windows 2-4 times per year, ideally in spring and autumn to prevent dirt, dust, pollen, and environmental grime from building up on the glass, frames, tracks, and moving components. Properties located near busy roads, construction sites, coastal areas, or large trees may require cleaning every one to two months because airborne pollutants and salt deposits accumulate more quickly. Regular cleaning maintains clear glass, smooth sash operation, protects frame finishes, reduces wear on moving parts, and allows early detection of issues such as peeling paint, damaged seals, condensation, or timber decay.
When Should You Consider Replacing Your Sash Windows?
You should consider replacing your sash windows if there is severe timber rot, persistent draughts, blown double glazing seals, irreparable mechanical drainage, extensive external noise pollution, or safety risks. These issues often indicate that repairs will no longer provide a reliable or cost-effective solution, making full sash window replacement the more practical long-term option.
6 common signs you should consider replacing your sash windows are:
- Severe Timber Rot or Frame Decay: Deeply softened, crumbling, or rotted timber in the sills or sashes that compromises structural integrity beyond simple patching.
- Persistent Draughts and High Energy Bills: Chronic thermal performance failure caused by warped frames, gaps, or failed seals that significantly inflate heating costs.
- Blown Double Glazing or Failed Seals: Permanent condensation, fogging, or moisture trapped between double- or triple-glazed panes indicating a ruptured seal unit.
- Irreparable Mechanical Damage: Twisted, severely warped, or swollen sashes that jam permanently in the frame, making smooth operation or balance correction impossible.
- Extensive External Noise Pollution: Inability to dampen outside traffic or ambient noise due to single-pane limitations where frame profiles cannot accommodate retrofitted double-glazing.
- Safety and Security Risks: Cracked glass, failing sash locks, or structurally compromised meeting rails that can no longer securely protect your property.
What Safety Tips Should You Follow When Cleaning Sash Windows?
Safety tips you should follow when cleaning sash windows include securing sashes before cleaning, checking sash cords, never forcing a stuck sash, staying inside, never standing on the windowsill, using a stable step stool, and keeping the work area dry. Each of these precautions helps reduce the risk of injury, prevent damage to the window, and ensure the sash window cleaning process is completed safely.
Here is the list of safety tips you should follow when cleaning sash windows:
- Secure Sashes Before Cleaning: Ensure tilt latches or sash locks are fully engaged so moving sashes do not drop unexpectedly while you work.
- Check Sash Cords or Chains: Inspect cords and chains for fraying, snapping risks, or imbalance before opening sashes to prevent sudden falls.
- Never Force a Stuck Sash: Avoid applying excessive pressure to jammed sashes to prevent breaking glass panes, snapping cords, or damaging frames.
- Stay Inside Where Possible: Clean outer glass by shifting sashes or using tilt features from indoors to eliminate the risks of working from high ladders.
- Never Stand on the Windowsill: Avoid stepping onto sills or meeting rails, as they are not designed to support body weight and create severe fall hazards.
- Use a Stable Step Stool for Height: Reach upper sash sections safely using a sturdy, non-slip step stool rather than stretching or balancing on furniture.
- Keep the Work Area Dry and Clear: Wipe up water spills on surrounding floors immediately and clear nearby obstacles to prevent slips, trips, and falls.
- Wear Rubber Gloves When Using Cleaning Solutions: Protect your skin from harsh detergents, chemical cleansers, and cold water by wearing durable rubber gloves.
What Are Common Mistakes to Avoid When Cleaning Sash Windows?
Common mistakes to avoid when cleaning sash windows include using harsh cleaning products, applying excessive water, cleaning in unsuitable conditions, and neglecting the window tracks and frames. Avoiding these common mistakes helps protect the glass, frames, paintwork, glazing, and moving components of sash windows while achieving a cleaner, streak-free finish.
8 common mistakes to avoid when cleaning sash windows are:
- Using Harsh Chemicals or Abrasive Cleaners: Avoid bleach, ammonia, or scouring pads, as they strip protective timber paint, corrode metal components, and scratch glass surfaces.
- Cleaning in Direct Sunlight: Avoid cleaning hot panes on sunny days, as the heat dries the cleaning solution prematurely, leaving stubborn streaks and water spots.
- Using Too Much Soap: Refrain from over-using dish soap, as excessive suds leave a sticky film on the glass that attracts dust and dirt much faster.
- Scraping Dry Glass: Never scrape debris or paint off dry glass with a razor or blade without lubricating the surface first, as this causes permanent scratches.
- Spraying Cleaner Directly Onto the Glass: Avoid spraying liquids straight onto panes where run-off can pool in bottom joints, and spray onto your cloth or sponge instead.
- Cleaning Glass Before Frames: Do not wash the glass first, because dirty water and dislodged grime from the frames will drip down and ruin freshly cleaned panes.
- Ignoring Excess Water on Timber Frames: Never leave standing water on wooden frames or sills, as absorbed moisture leads to wood swelling, paint blistering, and rot.
- Skipping Track Cleaning: Do not ignore the side runners and tracks, since leaving grit behind grinds down hardware and prevents sashes from sliding smoothly.